3D printing is the most mesmerizing manufacturing process of all. One can really get lost inside the soft, harmonious movements of the extruder as it creates an object layer by layer. The experience is therapeutic, quite like walking an indulging labyrinth.
However, as the axiom “Nothing is achieved without effort” says, one surely cannot enjoy watching a 3D printer work without having to do something before. That is the topic of this article. The preparations that go into 3D printing an object are part of the additive manufacturing process and without going through these steps, your 3D printer cannot work its magic.
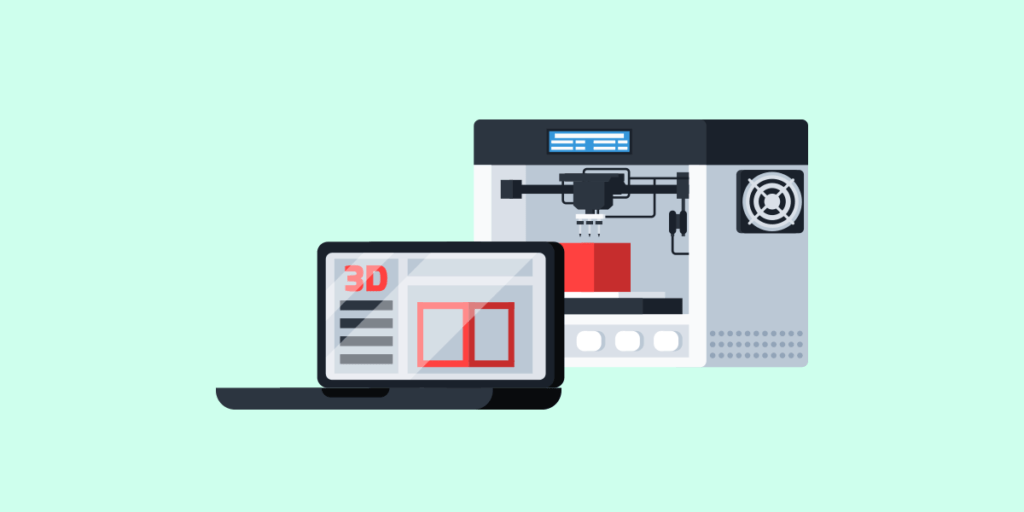
The pre-3D printing process can be divided into three steps: CAD modelling, slicing, and printing.
- CAD Modeling: This is where it all starts. In order to 3D print something, it needs to be modelled on a computer first. This is done via CAD software, which provides its users with a digital 3D space to work in and a number of tools to create a model with. Usually, the model to be printed is first sketched on a 2D plane and then, using CAD modelling tools, it is converted into 3D. Nowadays, CAD modelling, however, is not the only means of creating a digital 3D model. 3D scanning techniques are now available which basically scan an actual object and reproduce it inside a computer with high accuracies. These 3D scanned models often need a little bit of fixing and they are ready to go.
- Slicing: Next up is slicing. The slicing process consists of translating the CAD model into a language understood by the 3D printer: G-codes. These G-codes are commands for the 3D printer’s processor. By reading these commands, the 3D printer knows how to move in its three axes, when to extrude material, what thickness to extrude, how fast to move, etc. Slicing software is used in this step. The CAD model is cut into thin layers and G-codes are generated for each layer. Thinner layers are created if high accuracy is required, while thicker layers lead to a quicker 3D printing process. The user must decide what to compromise on, accuracy or time.
- 3D Printing: Once the CAD model is sliced, its G-codes are fed to the 3D printer’s microcontroller. It then reads these codes to actually print the model. The carriage motors are actuated in a way that the extruder, with its hot end and filament carriage, moves in the exact pattern of each layer while depositing the right amount of material. Layers are built upon each other until the whole model is constructed by the 3D printer.
This sums up the whole 3D printing process. Granted, 3D printing is fun to watch but the technical side to it is pretty complex and can create problems at times. So if you are planning on purchasing a 3D printer and believe you can start printing straight away, you might be a bit mistaken.
To stay informed of everything about 3D printing and learn the skills necessary to master it, subscribe to our blog here.