3D printing gained its popularity upon the introduction of new materials to the industry. After the advent of these materials, a lot of people have become 3D printing enthusiasts. These enthusiasts have always complained about the monitoring of long 3D printing jobs. As with many 3D printing jobs averaging 3-4 hours, monitoring is an extremely tedious and monotonous experience. Our team introduced some features in Cloud 3D Print that will help these hobbyists in monitoring their 3D printers easily.
Here is what Cloud 3D Print offers for them in its latest version:
Full remote control & monitoring of your 3D Printer
While using Cloud 3D Print, many users wondered about controlling and monitoring every aspect of their 3D printing jobs right from their browsers. Now, all they have to do is mount a camera device to the Raspberry Pi, which will give them constant feedback regarding the current progress of their printing job.
To get started with this smart feature, here is what you will need:
- 3D Printer
- Recording Device (webcam, camera, etc.)
- Raspberry Pi model 3B, 3B+, or 4B
- Power adapter for the Raspberry Pi
- USB cable
- A stand or tripod (optional)
What’s New in version 1.6.1?
The fully integrated operations of 3D printing with a camera will allow the users to manufacture parts with strict quality standards. For achieving better quality standards, the users need to take care of several factors which include:
- A faster reaction to defects: Typically, identifying an issue is only possible if a user observes a defect in a live recording of a video – as the user might have missed an important instant of the live recording. Therefore, capturing a video recording of the 3D printing jobs will help them in pinpointing the issue should live monitoring not be possible.
- More accuracy: 3D printing is an additive manufacturing process that fabricates parts layer-by-layer. At some stage of this process, the layer may not be bonded accurately, or the part is not up to the specification. Consequently, the use of a high-speed camera for taking photos of the part will help the users in tracking such issues.
- Improving the manufacturing process to reduce defects: A time-lapse of the 3D printing job will assist the user in measuring the output and production data to identify when defects occur in the complete process of manufacturing.
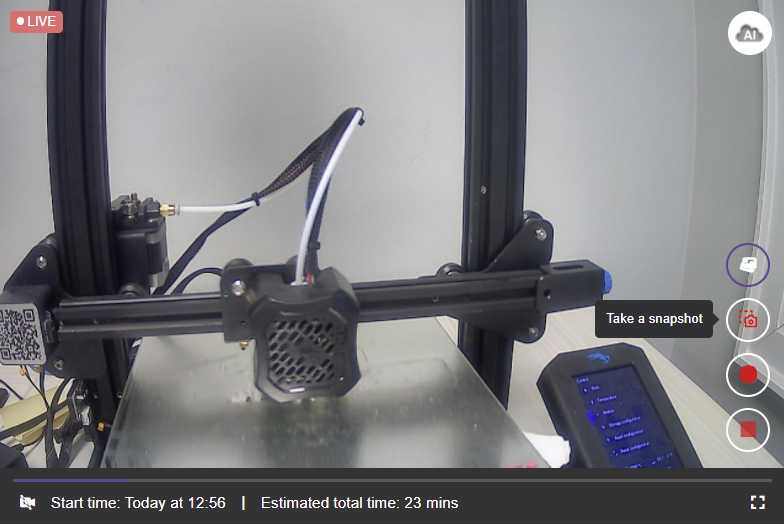
While considering these factors, our team added three new buttons to the live screen which are listed below.
- A button for taking a snapshot: this option allows the user to take a single snapshot of the ongoing print jobs from the camera connected to the Raspberry Pi controller.
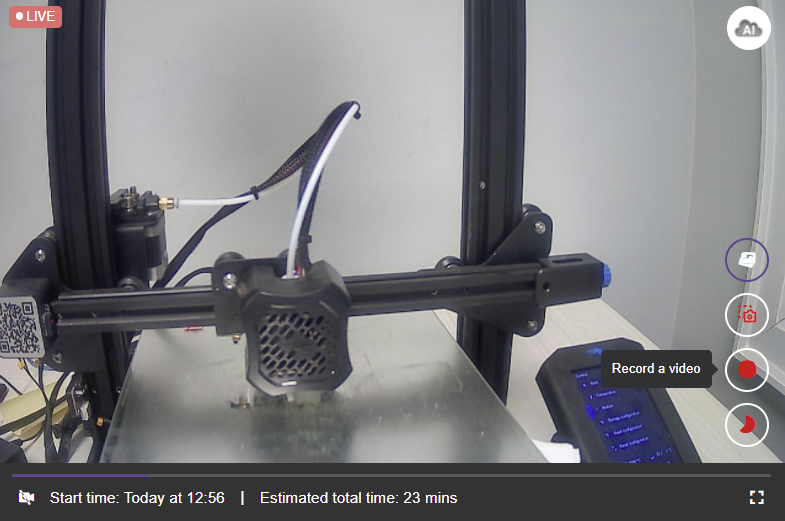
- A button for recording a video: the user can now easily record a video of the ongoing print jobs from the camera connected to the Raspberry Pi controller.
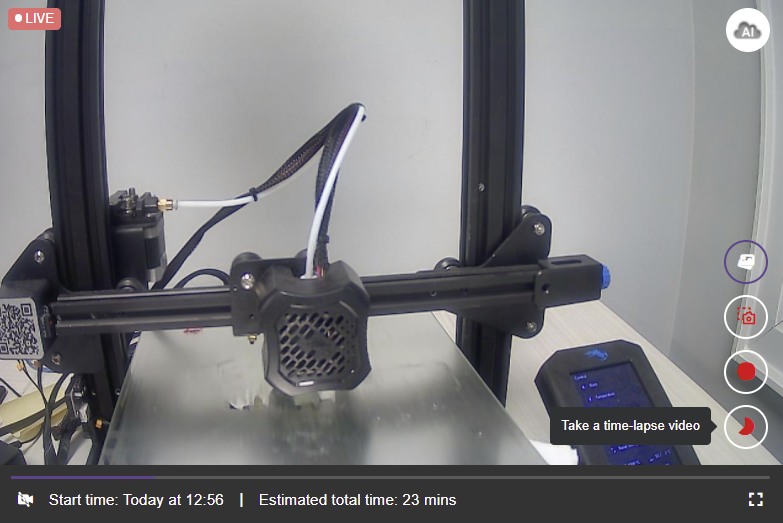
- A button for capturing a time-lapse video: the user can record a time-lapse video throughout the whole process of the printing job from the camera through a Raspberry Pi controller.
All you need to know about the Time-Lapse in Cloud 3D Print
Let us assume you are capturing a standard video of your 3D printing process using your phone. To capture everything, you’ll need to video record the whole printing job of more than 5 hours which will result in a longer video. Therefore, using the time-lapse button on the live screen will help you to get a visual summary of an extended printing job. The time-lapse video is a collection of photographs or videos captured at a slower rate, or FPS (frame per second), than usual. While recording a time-lapse, frames are captured at a slower rate which compresses a 5-hour long printing job video into a captivating 60-80 second video. The users are advised to set a large frame interval in lengthy printing jobs as it will help document every important event of these extended printing jobs.
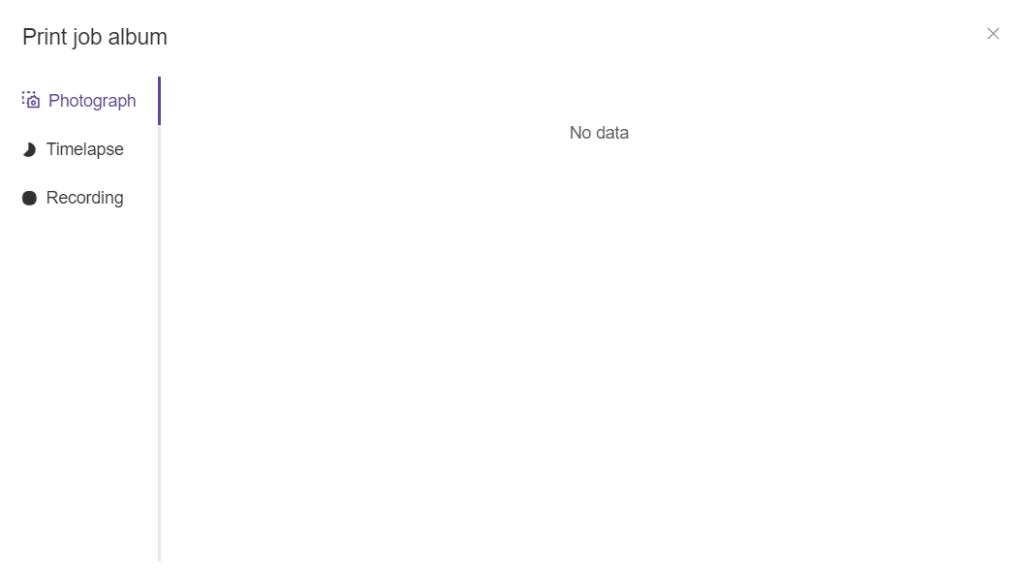
How to access your Print-Job Gallery?
Browsing Image, Video, and Time-Lapse Archives
Now the users can download, sort, and delete images, videos, and time-lapses of their print jobs. Once the print job is finished, a section is reserved to display the archives of the snapshot, video, and time-lapse. You can easily access them by following the guide below.
Here is the step-by-step guide of accessing your Print Job Album
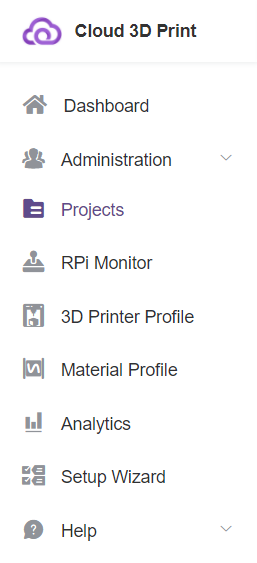
- Click on “Projects” at the right in the “Dashboard”.
2. Click on “print” at the top.

3. Click on the “horizontal ellipses” present on the right-hand side of your project.
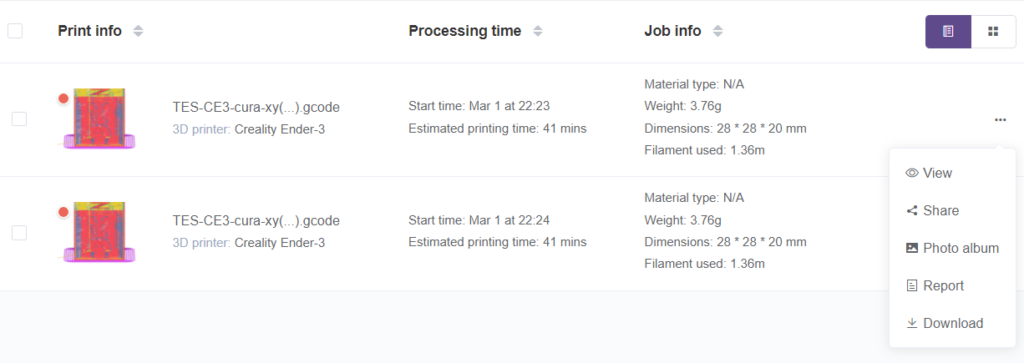
4. Click on the “Photo Album” when a new tab pops up.
5. A new window of “Print job Album” will appear where you can access your archives.